
Getting Started · Help Center
How to Create an Account on AstraBit
Create an account, verify your email, and complete the required onboarding steps to access your AstraBit dashboard. Eight steps, start to finish.
This content is provided for informational purposes only. For troubleshooting or related account topics, visit the Help Center.
Before You Begin
A Few Things to Know
Whitelist Our Emails
Your verification code arrives by email — check Spam if you don’t see it, and whitelist support@astrabit.io, admin@astrabit.io, and marketing@astrabit.io.
2FA Is Worth It
You’ll be offered Two-Factor Authentication during onboarding. You can do it now or later from Profile & Settings — but enabling it is recommended for additional account security.
Retail or Institutional
You’ll choose a membership type during onboarding. Most users are Retail; Institutional clients have additional Terms & Conditions.
Have a Referral Code?
If a friend invited you, entering their referral code during onboarding lets them earn from Credits. No code? You can skip that step.
Step-by-Step
Eight Steps, Start to Finish
Click the Sign Up Button
- From anywhere on the website, look for the Log In / Sign Up buttons at the top right.
- Clicking these routes you to sso.astrabit.io, where you can Register or Login.
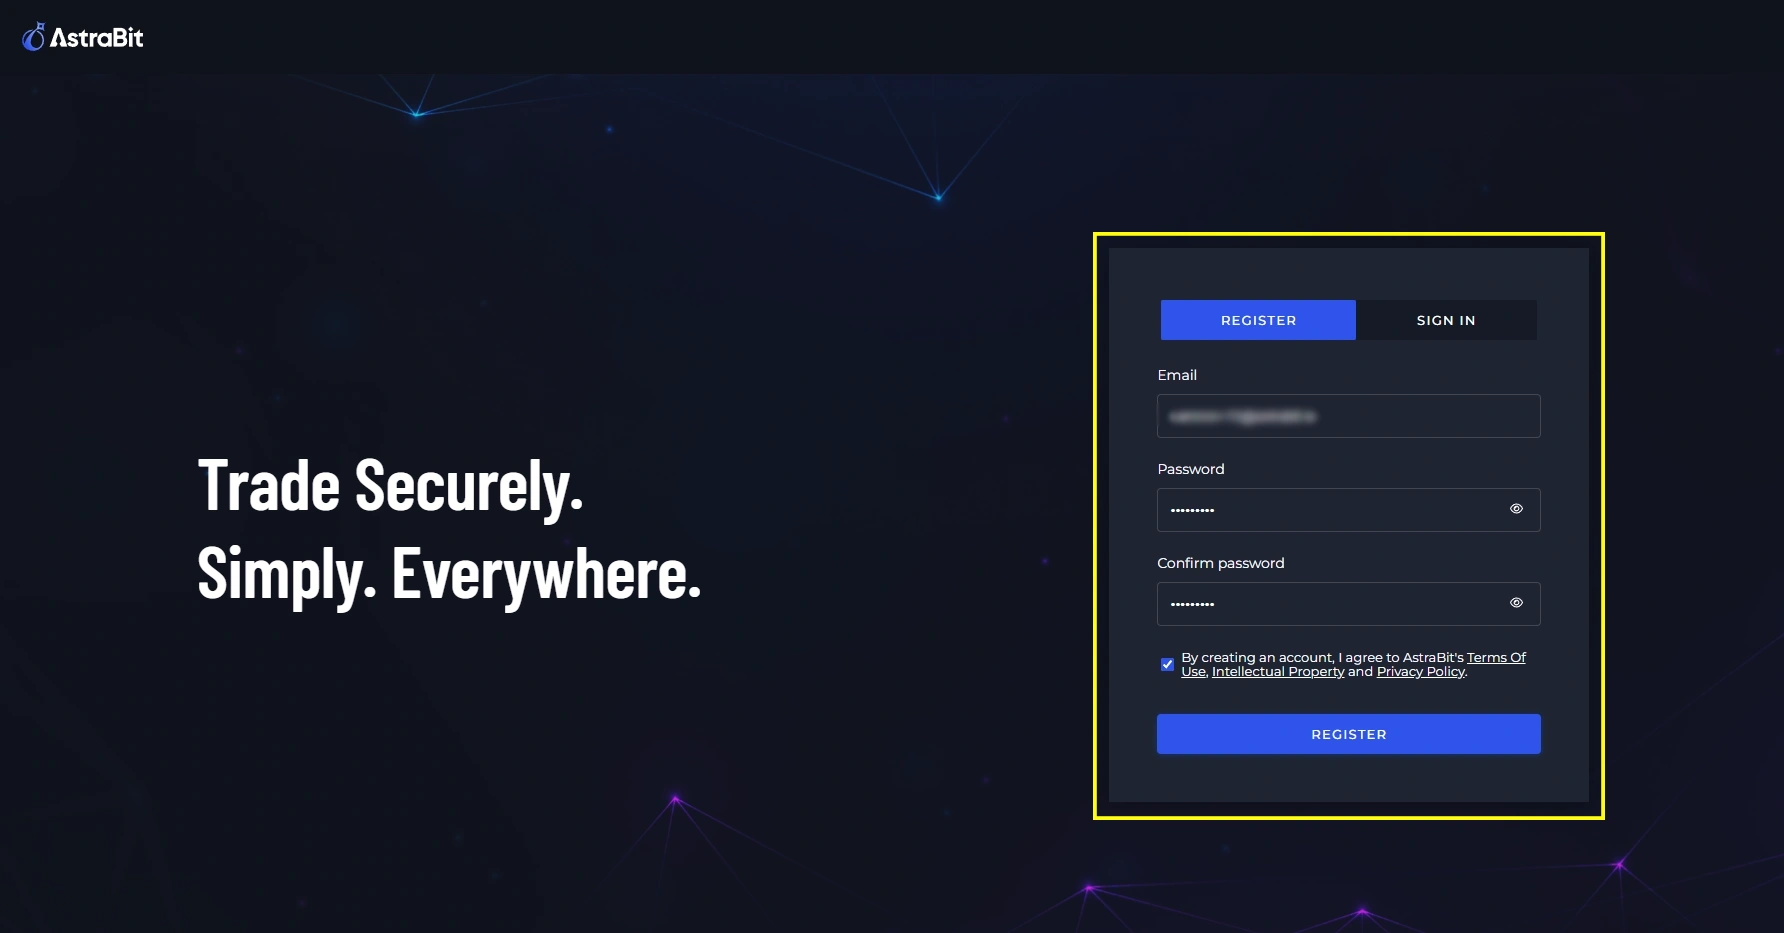
Complete the Registration Form
- Click Register at the top.
- Enter your email and create a password.
- Click Register at the bottom.
- A verification code will be sent to your email.
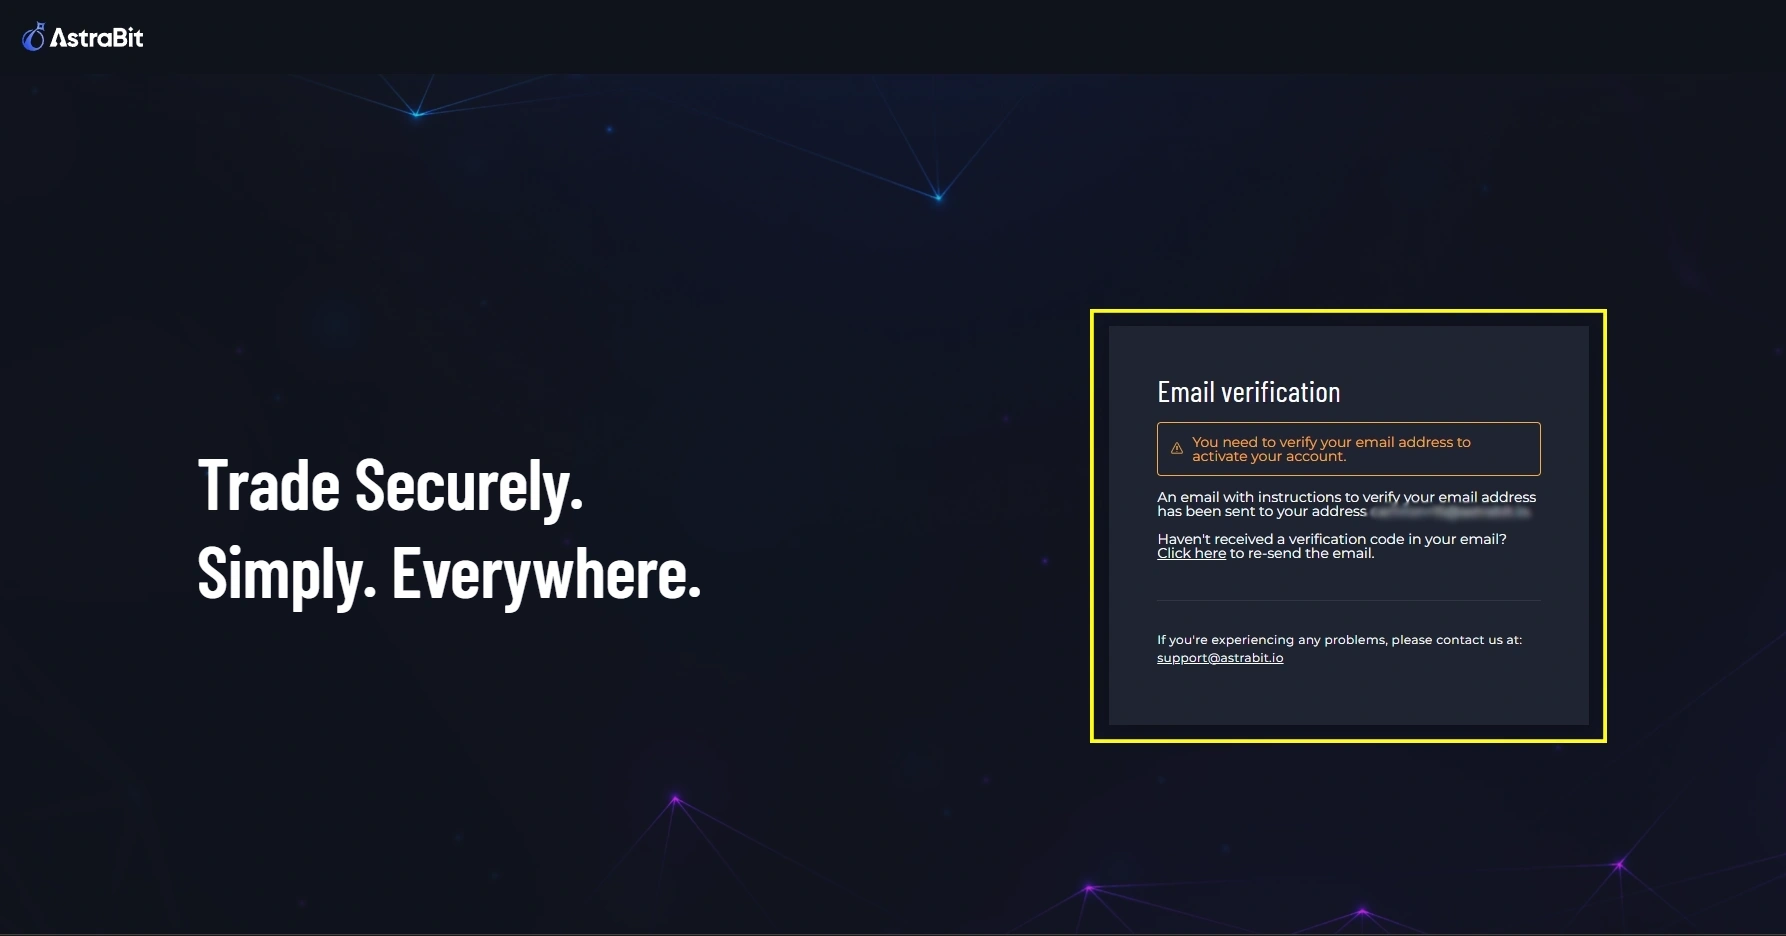
Verify Your Email
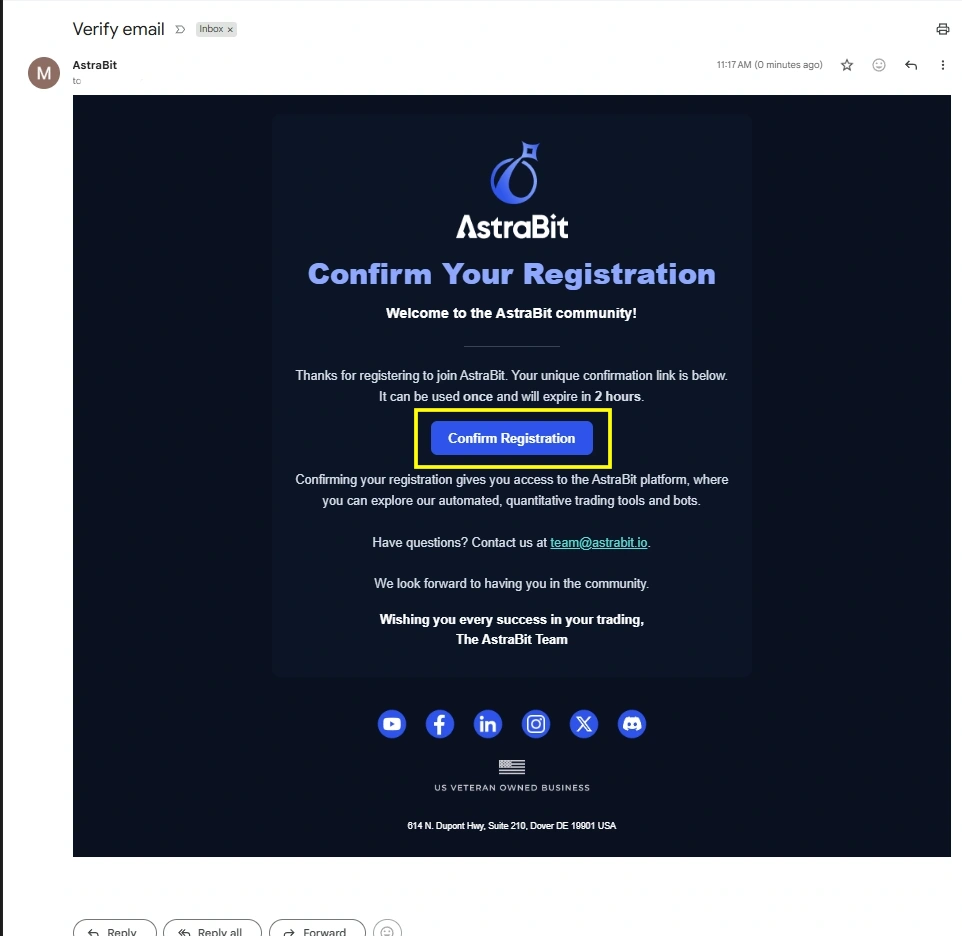
- Look for the confirmation sent to your email (check Spam if needed).
- Whitelist support@astrabit.io, admin@astrabit.io, and marketing@astrabit.io.
- Click Confirm Registration — you’ll be taken back to AstraBit.
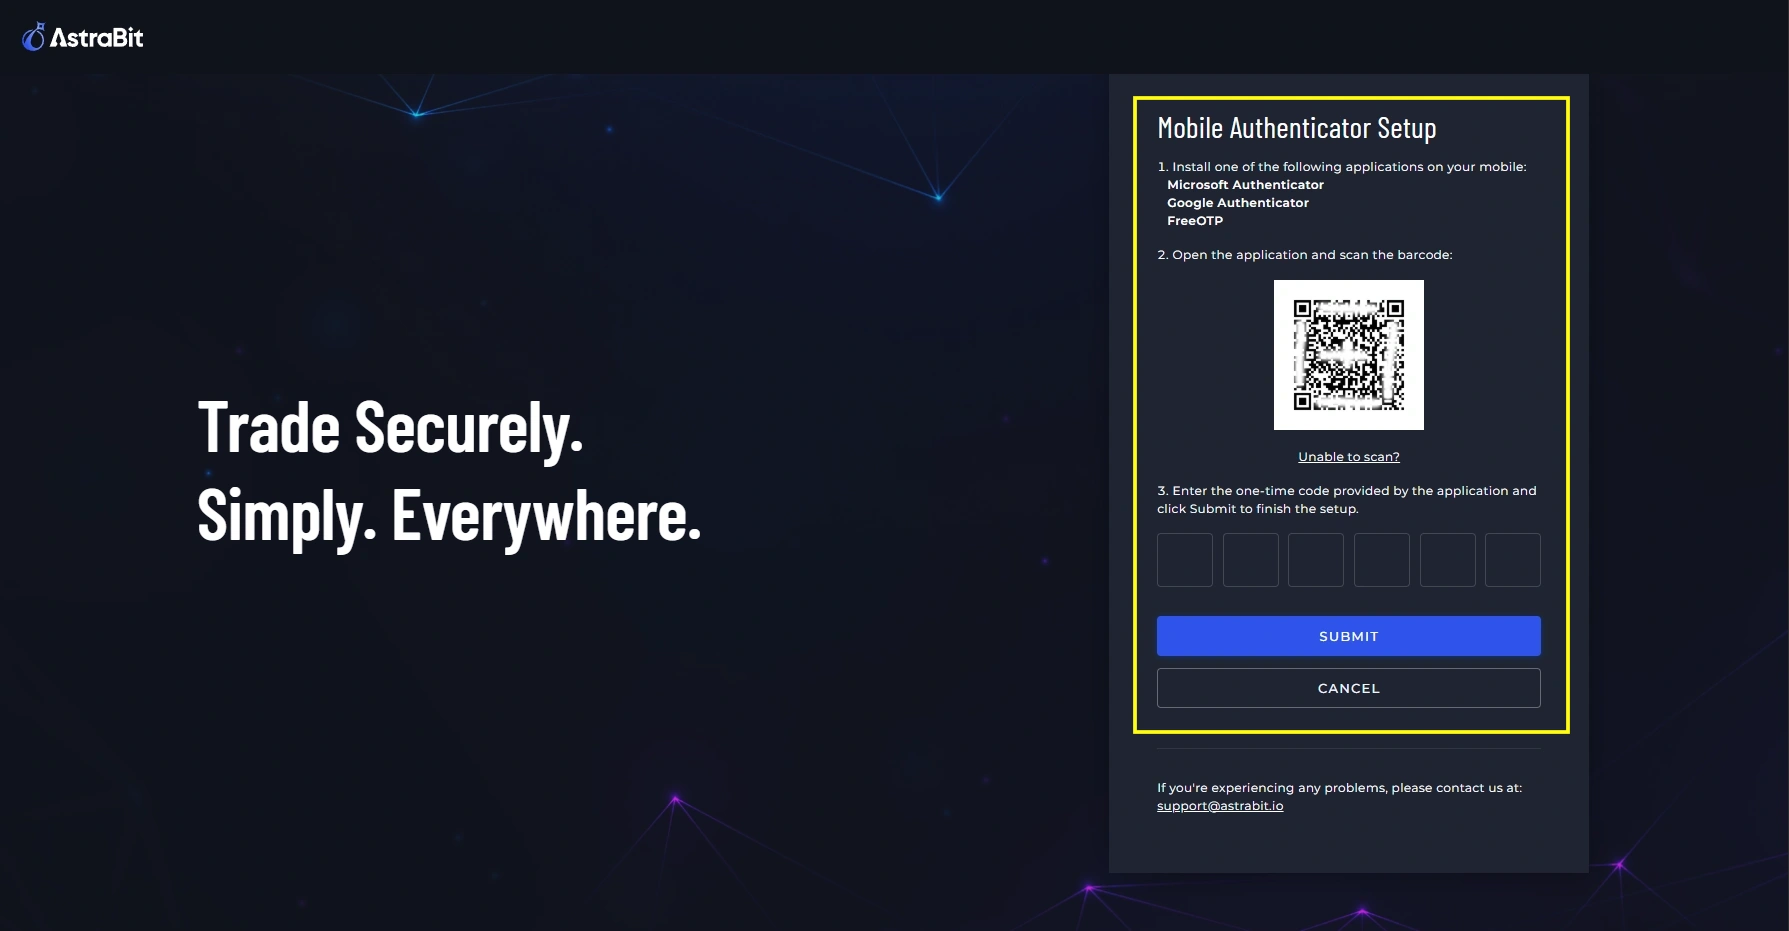
Enable 2FA (Optional)
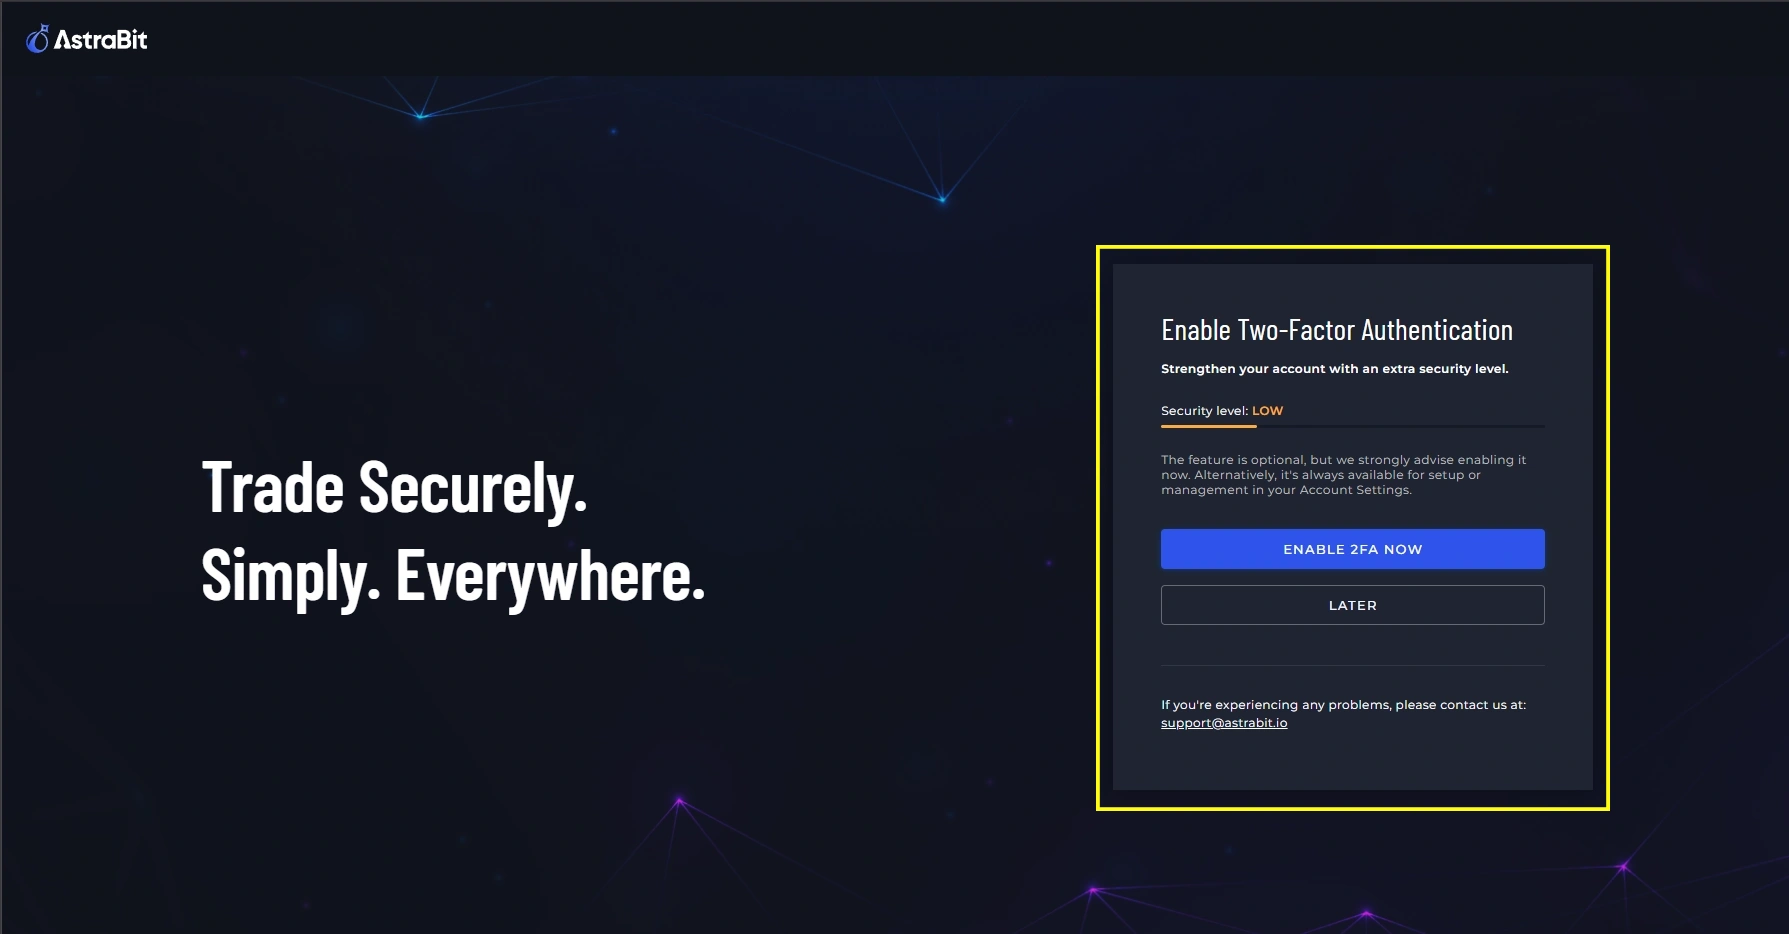
- You’ll first be asked to enable Two-Factor Authentication.
- Do it now, or complete it later from Profile & Settings.
- Once enabled, you’ll see a confirmation that 2FA is active.
2FA is recommended for additional account security.
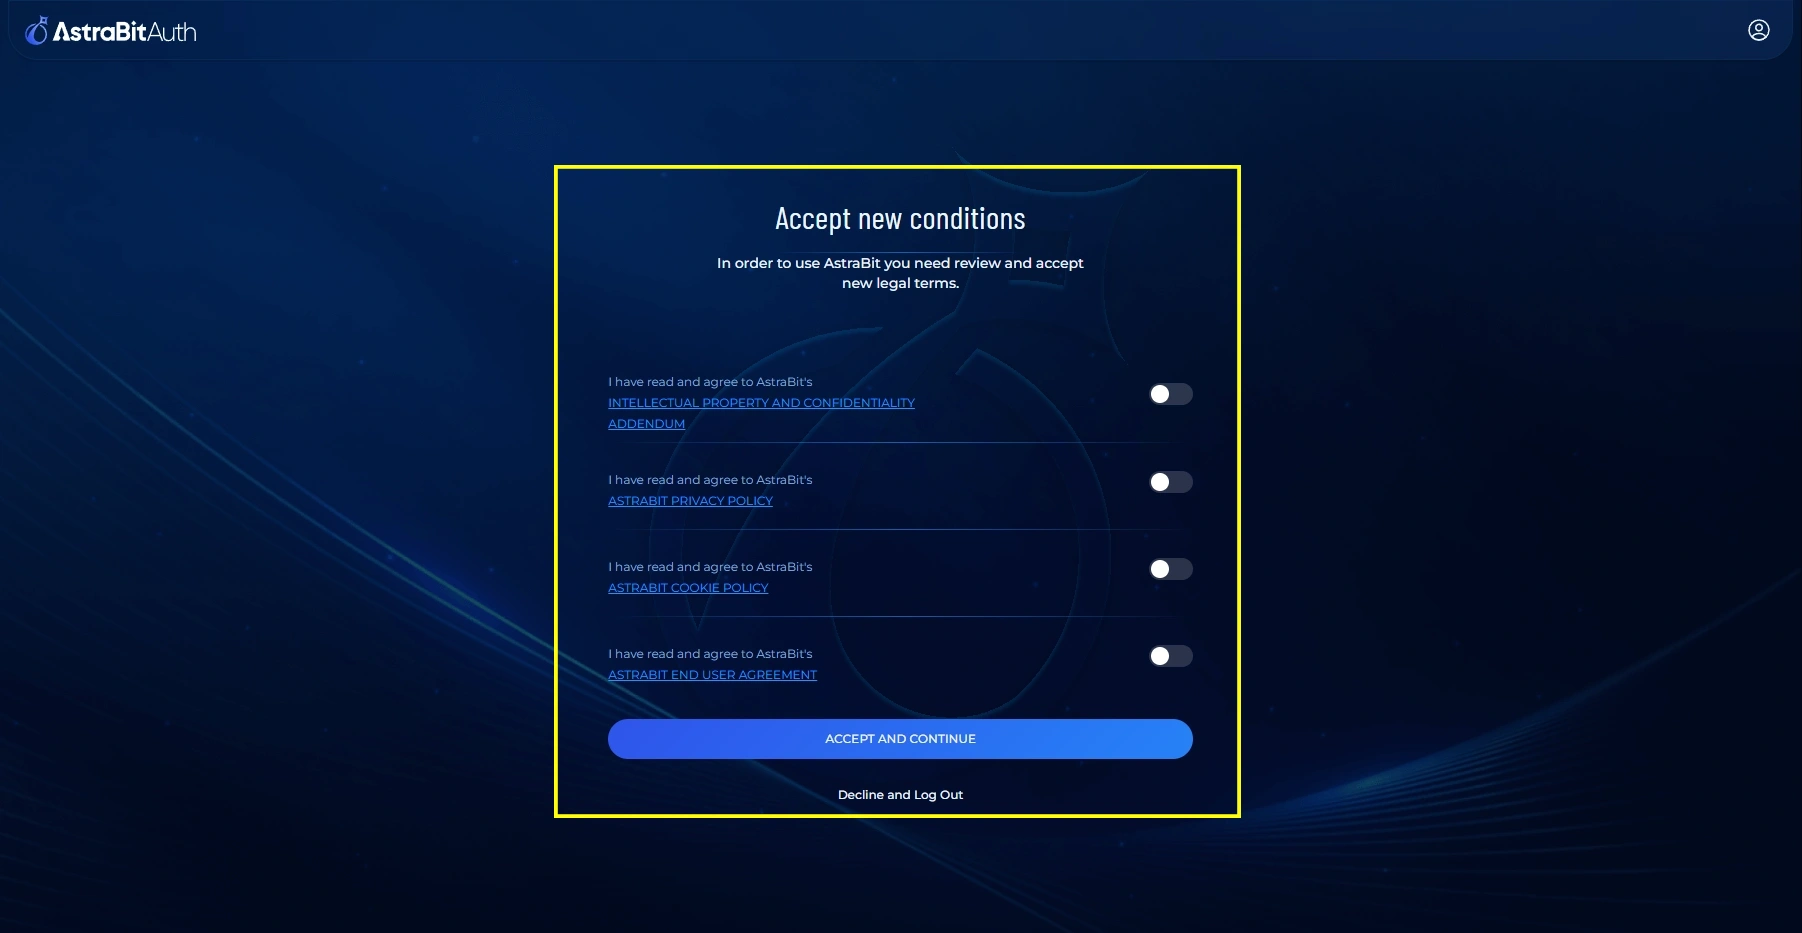
Accept Terms & Choose Account Type
- Read and review all Terms & Conditions.
- Click the toggles to confirm you accept.
- Select your Membership Type — Retail or Institutional. Most users will be Retail.
- Click Accept and Continue once finished.
There are additional Terms & Conditions for Institutional clients.
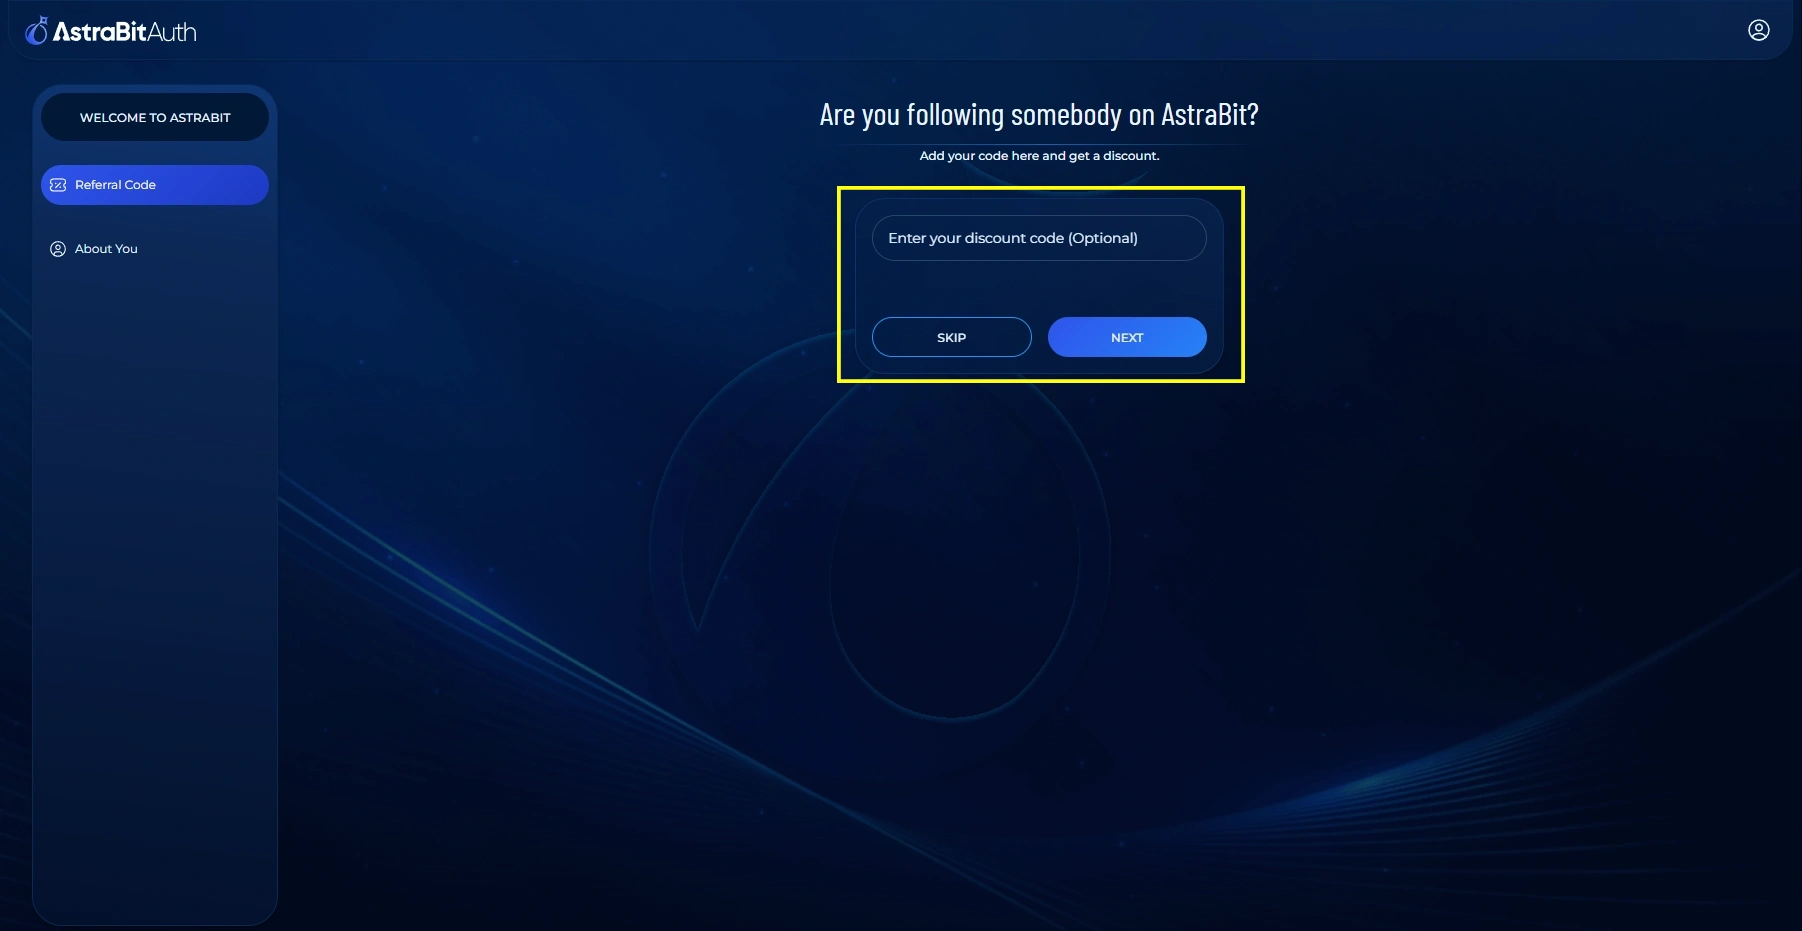
Enter a Referral Code (Optional)
- Did a friend invite you? Input their referral code here — this allows them to earn from Credits.
- No code? You can skip this step.
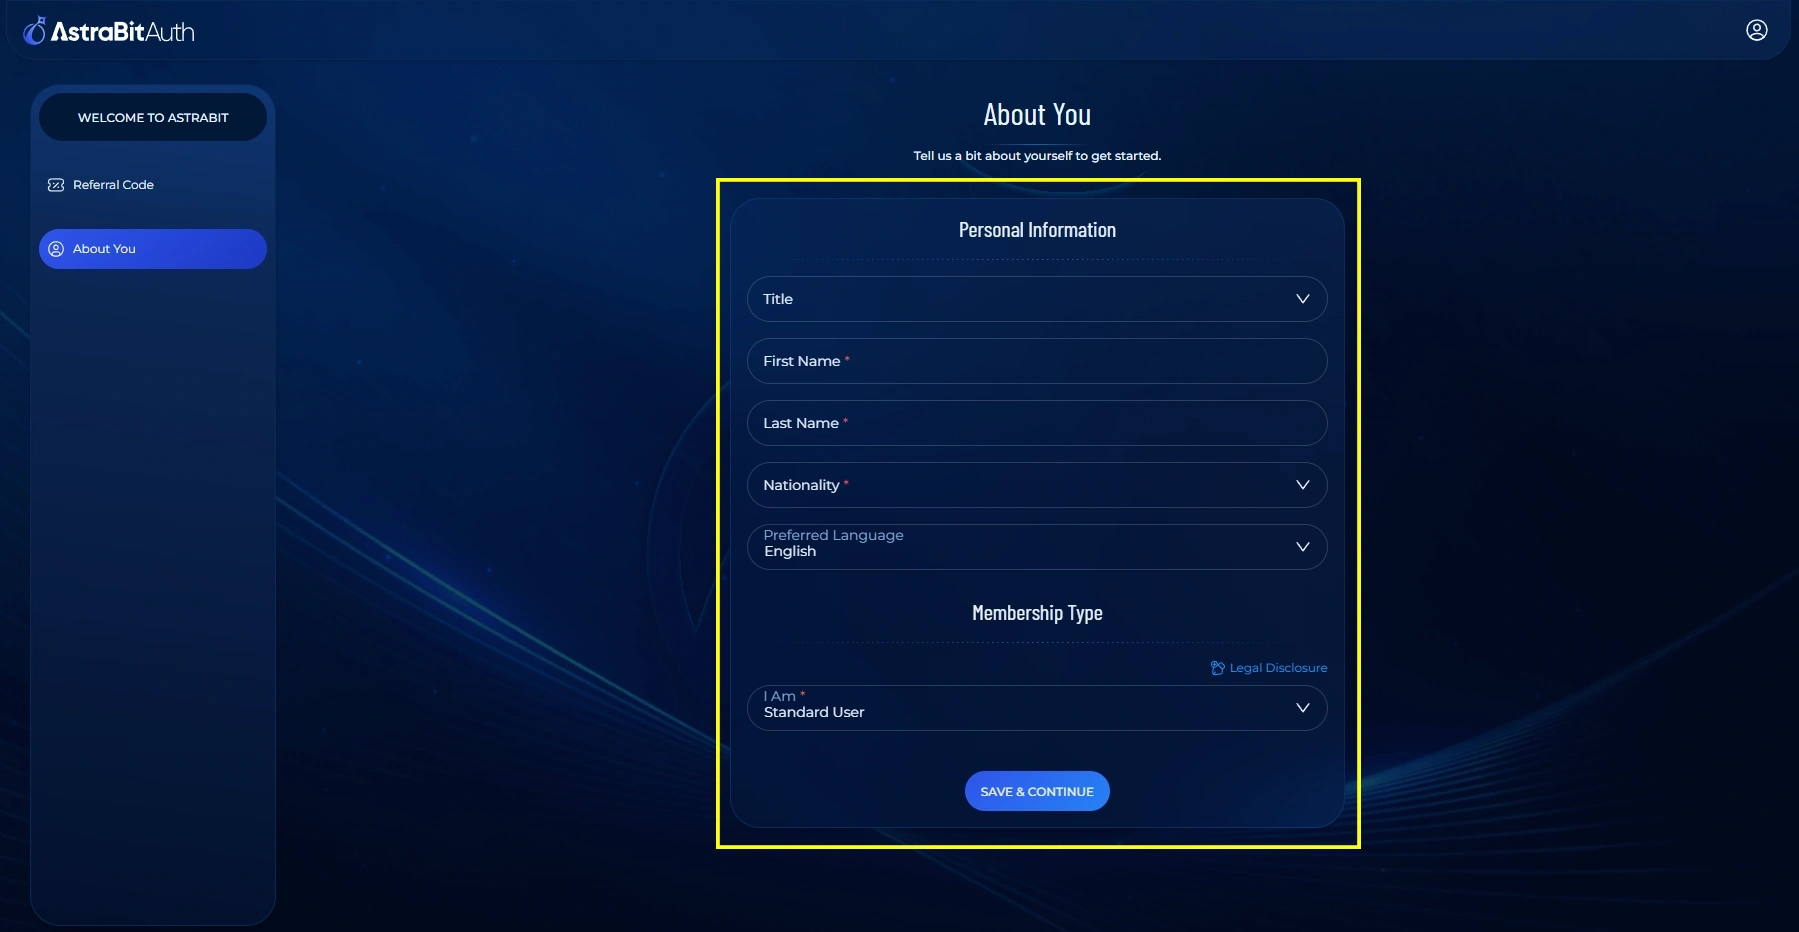
Complete Your Profile
- Input your basic profile information: Title, First Name, Last Name, and Location.
- Review your details, then continue.
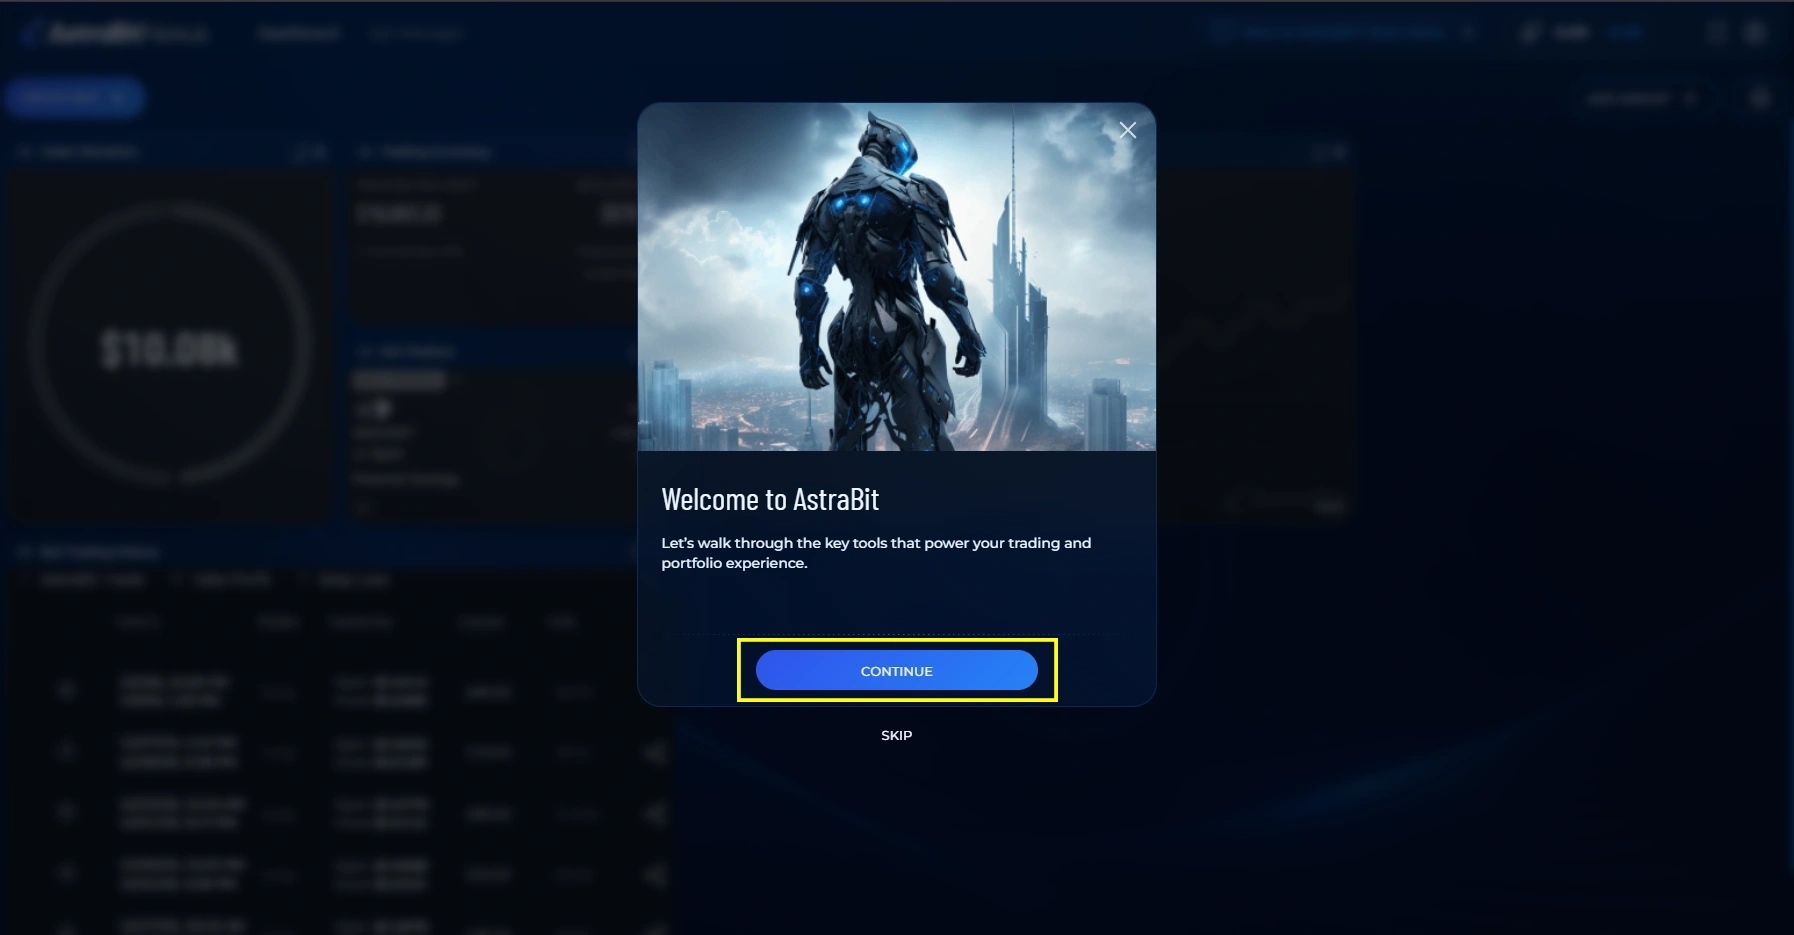
Account Creation Successful
- You’re brought to the Nexus Dashboard for the first time.
- A short wizard shows you the important access points.
You’re In
What’s Next?
With your account created, the typical path is: connect an exchange, then create your first trading bot.
Set up your first trading bot
Connect an exchange API and link a strategy — the full walkthrough is in the Help Center.
